31 October, 2014

Forgotten Funkies.... Funky Daze.

Good Morning everyone!!!
Its the time of month again for our 'Forgotten Funkies showcase!!! and each month our fabulous Funkettes will be here on our blog showing off some new makes with our older downloads and CD Roms. 

Today's showcase is centred all around the gorgeously funky and fabulous 'Funky Daze' cd. Just look at this amazing collection of different backing papers and two wordbooks  included. These were the first two wordbooks Anice ever designed. She was very surprised at how popular they would be with everyone!  So this CD is most definitely too good to be forgotten!!! Oh and as a little reminder, all the Funky Hand CDs are still priced at just £1.00 each over on the website www.funkyhand.com 


Funky Daze

So that's enough of my wafflies - you want to see what our 
gorgeous girls have come up with don't you?
ok, ok here they are, for more pictures and make details please pop in on their personal blogs by clicking on their names.......

 Kathy   
(Tutorial on last Wednesday's post click to take a look)


Allison


Lou
(using the 'Sunday Best' colourway)

Debbie
(Using Son Day colour collection))

Marleen
(using the Funky Daze collection & the Your special day clear stamp set)

29 October, 2014

A Twisted Tube Treat

Hello, Kathy here today with am idea for a Treat Box which might come in handy for Halloween, or Christmas or whatever other reasons you can think of for giving someone a little treat.
The great thing about this one is that you can make it in whatever size you like as the starting point is simply a rectangle of thick paper or thin card.

 Twisted Tube Treat Box

Because of the shape of these boxes, the easiest way to work out what size box you need is to have a "dry run" using a sheet of ordinary A4 paper first.  For instance even using a quarter of a sheet of A4 will produce a box big enough to hold a lot of small sweets like Smarties or Jelly Tots - if you want to make tiny boxes to hang on your Christmas Tree, consider making them even smaller.
So just cut a sheet of scrap A4 into half to start with and  follow these instructions to get the idea first

For this Halloween themed treat box, I started with a rectangle that is a quarter of a sheet of A4.  I've used Spookie Dookie  for this one
 Turn to the "wrong" side and from one edge, fold in about 1cm and make a crease.  Apply glue or tape down the folded piece
Now,bring the other edge over to line up with the crease and stick down to form a tube - just like the card  inner tube from a loo roll!

 Now, flatten one end of the tube - keep the join at one side of the flattened end, use glue or tape to stick these two edges together. I find glue is a bit easier to apply on the inside edge.  You may find it useful to have a supply of mini bulldog clips handy to hold all the edges in place while they dry

For the next crease you need to flatten the top end of the box in the other direction - this time, make the crease but don't do any sticking as your box needs to be filled first! You should end up with a box with 4 triangular "faces"

At this point you need to decide two things: what to put in it and how to close it.
You could just add glue as before and maybe make a sticker to decorate the box with
If you want little boxes to hang on the Christmas Tree you could simply fill with goodies, then add the glue as before, but remembering to tuck in a loop of Bakers Twine to hang it with.
Or if you've made a larger box,  punch some holes and thread ribbon through to hold the opening together - this is nicer for a gift box, I think. 
Or punch a medium sized circle and stick half down on each side of the box opening - it would be simple then to open with scissors

How about making 24 of these in some  of Funky Hand's Christmas designs (such as these form Funky Hand's Yule Be Funky CDrom)- add a number to each , hang them on a branch or display in a big bowl and you've got a unique and stylish Advent Calendar. 


That's it for this time, I hope you like these little boxes and will have ago at making some for yourself.  We'd love to see if you do....
Happy Crafting

Keep In Touch with this great new download!

Hi everyone Anice here,

It's been ages since we have released a new backing paper download so, here's one for you!  Keep In Touch. It's a bright little number as you can see below, great for crafting for the young..and not so young as well!


It's a big old download, 22 A4 high resolution backing papers and 2 matching topper pages.  That's just over 10p a paper, and you have them to print off forever!

This download has proved popular with my Design Team ladies and they have created some amazing this using it.


Kathy has resized some of the toppers to use as embellishments on her card.  That the great thing about digital crafting you are incharge and can make the papers and images whatever size you need. Oh by the way what a cracking card this is eh?


Lou has decided to make some notelets and aren't they fab.  Funky Hand backing paper collections are not just for making handmade cards.  If you can think of any crafty project that you need paper for they can be used as they can be printed onto whatever you need.  As long as it will go through your printer of course!!

To see lots more fabulous crafty creations from the Design Team go over to the Funky Hand website www.funkyhand.com and take a look at the gallery on the Keep In Touch product page. 

While you're over there, why not add Keep In Touch to your basket?  You know you need it!

Speak again soon.
Anice xx


26 October, 2014

Winter Wishes

Afternoon,

It's Debbie here, this wild and Sunny Sunday - well it is here in East Yorkshire. I am doing my post later than expected today but I've made it at last.

Today I wanted to make something for the people I send Winter Wishes cards to instead of Christmas cards. Just because they don't celebrate it, I still want them to know I'm thinking about them. I only make a couple or so of these a year. Now when I started I knew what paper download I wanted to use and that I wanted to make a couple of cards using the same items. I like to challenge myself now and again.So here they are:

The paper download is 1 of my favourites  called Winter wonderland .


All I printed out was 1 sheet of A4 with 2 papers on it, the rest were from 
my bits folder. Some twine, 1 set of snowflake dies and liquid pearls instead of gems etc.

Why not share some of your Funkyhand makes or views with us either below or on our Facebook page.

Hugs Debbie x

01 October, 2014

Have you a Minute or 10?

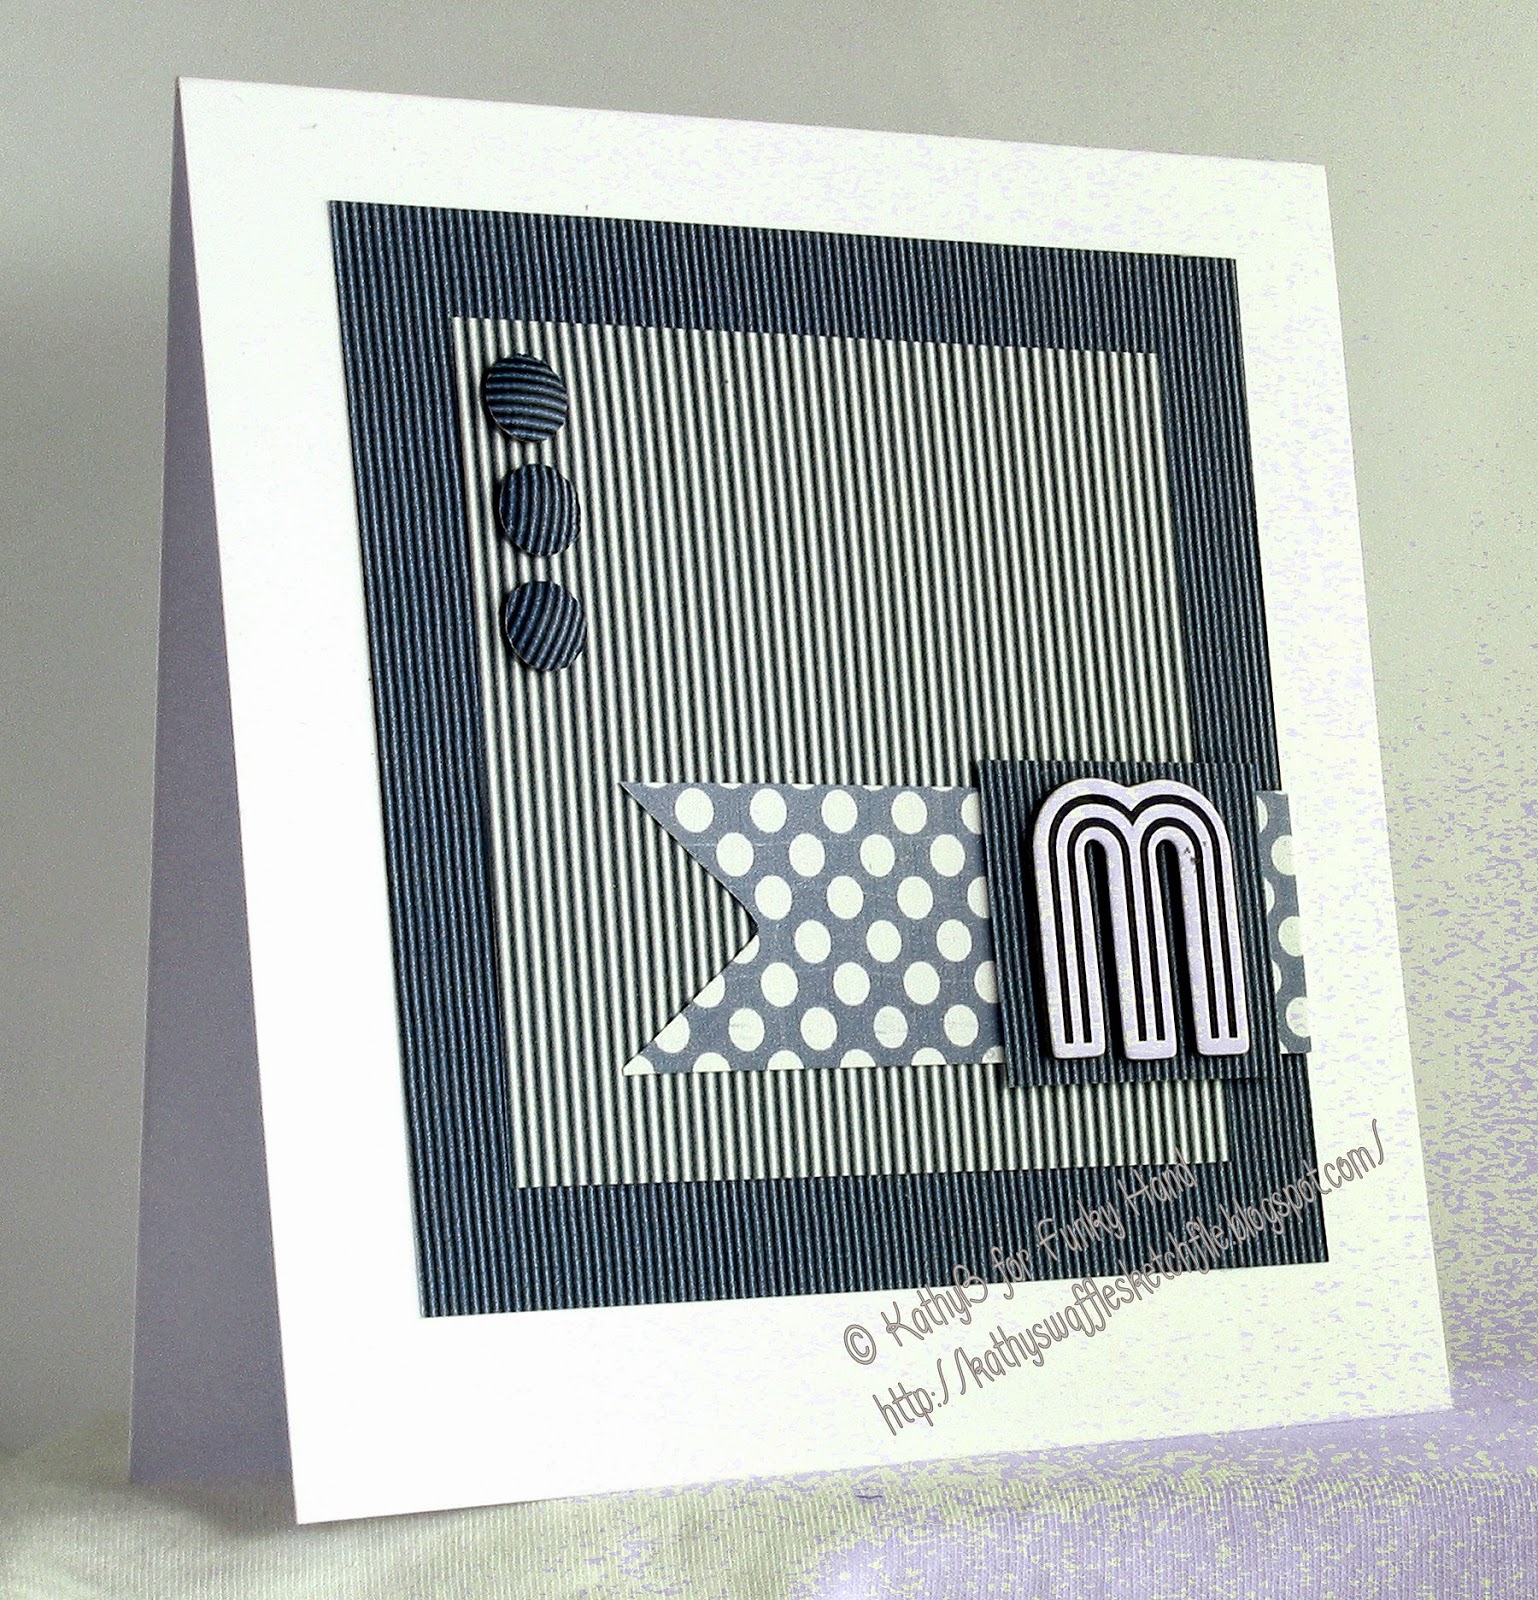
Hi, Kathy here today and I seem to have been in such a rush lately - so much to do so little time.  So I thought I'd have a go at something I have never, ever found easy - 10 minute cards!

Now I'm not counting printing time in that 10 minutes or so, but, as it happened I had a some pieces of these Winter Wedding papers from Funky Hand lying on my desk (I'll show you why, later), so the only printing I needed to do was an extra A5 piece of the dark blue pinstripe  as I didn't have a piece big enough to make the background square
How easy is this card then?  I think these papers work so well for a geometric layout like this.
A big square, a smaller square and a little one to fix the monogram to.
The banner is just a rectangle with the points hand=cut, and the "brads" were made just with a small circle punch and shaped with an embossing ball tool.
The monogram is a chipboard sticker so no work there either.

I still had a few scraps so I thought I'd have another go

The 2 layers for the banner are made the same way as above.
The circle is a Spellbinders Nestie die
As luck would have it I had a spare printed "Happy Birthday" sentiment left over from something else 
(I'd printed 2 at the same time as I wasn't sure which font I liked best for a project)
Okay, so I'll admit deciding to make a little rosette pushed this over the 10 minutes, but not by much.  It's just a strip of paper, scored using my scoring board, folded up quickly and glued onto a punched circle of card. 
 It didn't take long. 
The centre of the rosette is another punched circle (a bit larger than the ones on the first card), shaped with a ball tool again and glued in place
Probably took 15 minutes max to make this one

So, what cards can you make in 10-15 minutes>  If you have a go, don't forget to let us know where we can see your creations

Oh yes, I was going to show what I'd been making with these papers wasn't I?
That's it for this time, thanks for visiting - don't go without leaving a message, we'd all love to hear from you ;)