Showing posts with label Picasa. Show all posts

13 October, 2013

A Funky Hand Tutorial Part 3 - Categories/Collections

Hello, Tabbatha here again for another Picasa 3 tutorial! I would like to cover one of the best features of Picasa 3 - Categories, also known as Collections.

Today's post will follow the process of downloading the Spooky Dookie paper collection, and adding it to my Funky Hand Collection. Here is the finished creation, once I had the download on my computer and picked the papers via Picasa 3.

20131008_Boo_closed

 The thing about creating layered cards, especially those that are themed is that it can be difficult finding the papers you have in mind. Picasa 3 not only lets me browse through all my digital paper folders without the constant opening/closing, but it also lets me retain the file structure on my hard drive.
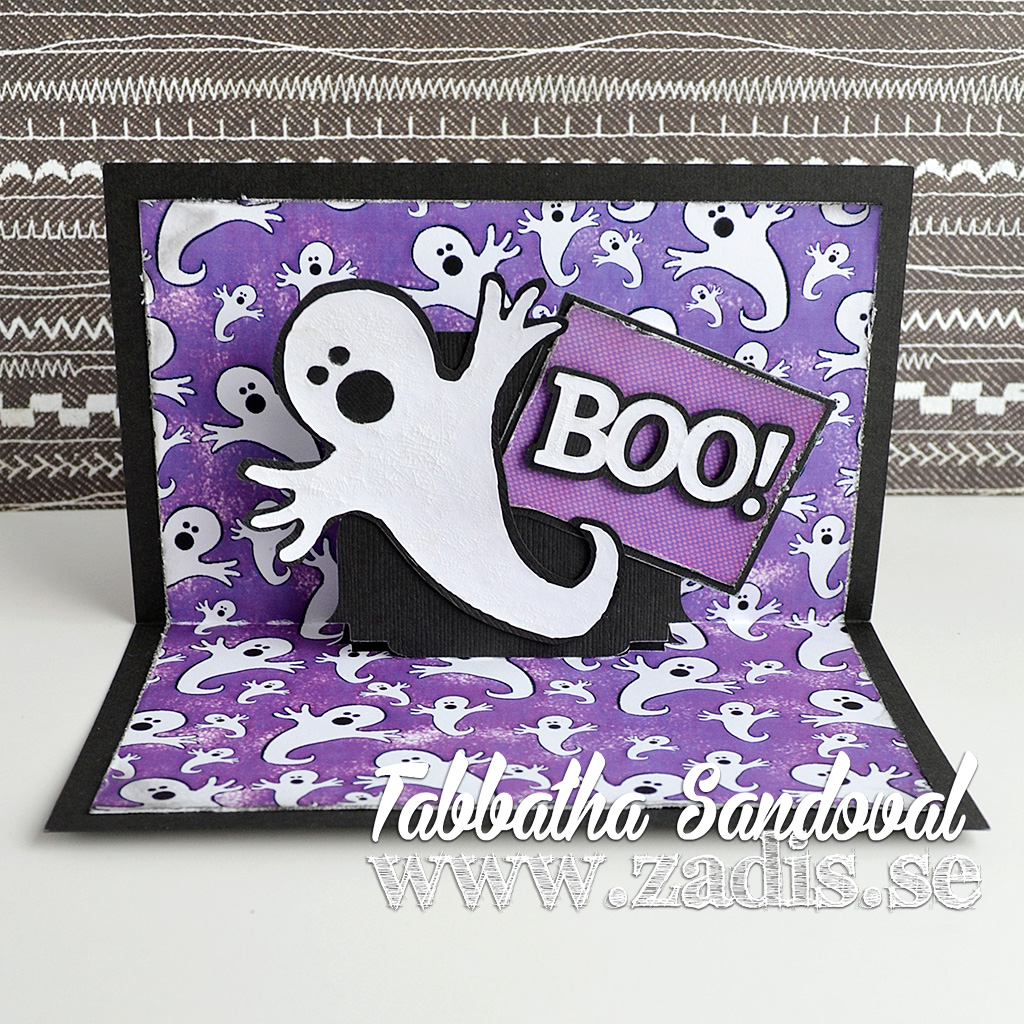
20131008_Boo_open

I utilize my Categories/Collections as a way to separate papers from my digital stamps, my finished projects, as well as other printables. I also have all my scrapbooking/cardmaking related digital supplies named similarly, so they are easier to scroll through in Picasa 3. One thing I should note, Folders vs Albums & Collections. Picasa 3 utilizes the folder structure of those folders you imported, so if you move a file in Picasa from one folder to another, that is the same as moving it on your hard drive. Albums & Collections, however, exist only in Picasa.

Once I downloaded and moved the Spooky Dookie Downloads into my Funky Hand folder on my computer, Picasa scans that folder and shows it under the "Folders" Collection.

From here, it is a matter about right clicking and selecting the "Move to Collection". This is when you create a new collection or add it to an already established one. In my case, I added it to my Scrapbooking - Funky Hand collection.

Collections/Categories are yet another way to organize Picasa 3, while maintaining your original file structure, and that is absolutely why I use this program. On my hard drive, I organize things by type (paper, embellishment, printable, digi stamp), Artist, then by (in the case of my papers) Collections. Setting up the Collections in Picasa are super easy and an efficient and lets me maintain that. :)

Thanks for stopping by! I hope I've encouraged you to try this organizational tool in order speed up the creative process. We all know that that the less time we have to find what we are looking for, the more time we can get our glueing on! :D

15 September, 2013

A Funky Hand Tutorial Part 2 - Tags


Hello again! It's Tabbatha here to do my second part of my Picasa 3 tutorial. If you remember Part 1, I made a video demonstrating how to set up Picasa 3 and import your folders for quick browsing when you are looking for that perfect paper!

For Part 2 I had every intention of recording another video, but just ran out of time. So instead...I am filling up the post with lots of screen shots with descriptions. Picasa 3 is so easy to use that you will eventually figure things out for yourself, but I wanted to showcase some of my favorite functions. This can be alot, so I also decided to break it up. That means that there will be a Part 3 and Part 4 too! The topics I'll be covering are the following: Tags (Part 2), Categories (Part 3) and Albums (Part 4). These are three functions that I use almost every time I am picking papers for a new project.

Here is the card that I'll be referring to in the screenshots. It is one of the more complex cards I've made using 5 different patterned papers, so you can guess that I used the full functionality of Picasa (Tags & Categories) in order to pick the right papers for it!

Tags - What are they?
(For a full rundown of tags, you can read up on them here.)
Tags are an easy way to identify themes within your files. They are keywords that lets you identify a particular image.

How do I use them?
(from Google Picasa Help)
  1. Select the photos that you'd like to tag. You can only tag photos in one folder or album at a time.
  2. Click the Tags button. You can also use the keyboard shortcut Ctrl-T (Windows) or Command-T (Mac). Existing tags and tag counts for selected photos will be listed in the 'Tags' tab.
  3. There are two ways to add tags:
    • Type the tag manually: Use the text box to enter the tag and click the 'Add tag' button.
    • Use your 'Quick Tags': By presetting tags that you frequently use, you can add them with the click of a button. Manage your 'Quick Tags' by clicking the 'Configure Quick Tags'  icon in the 'Tags' tab.
To remove a tag from all selected photos, just hover over the relevant tag in the Tagspanel and click the 'x' icon that appears.
Once your photos are tagged, you can use the search box in the upper right-hand corner of Picasa to quickly find pictures that you've tagged.
In this image, I am looking at a paper from the Summer Wedding download that I would like to tag. This is easily done by first opening the Tag window (View > Tags) or by pressing Ctrl + T on your keyboard. I entered the tag "kraft" so that later on I can search and look at all the "kraft" papers for my card.

If you know you are going to use the same tags over and over (like kraft), I highly suggest using the "Quick Tags" menu - just click on the ?? buttons on the bottom of the Tags window. 

Why are they useful?

By tagging my Funky Hand papers with themes like "Christmas" or "kraft", I can search for that tag and see all of the papers labeled with it regardless of what folder they are in.

One of the things that I do when I have a project in mind is to take a look at all the papers I have (regardless of which set they are from or folder). I then tag them with "project" or something so that later on I can easily search for those papers I think pass best. This works really well if I know I'm leaving the computer for awhile and want to come back to it (as opposed to the highly useful selection box that I mention in Part 1). Just remember to remove the temp tags (project) later on!

Some useful things to keep in mind.

Don't feel the need to tag everything (unless you want to), Picasa Search also looks at the file name so those that have "wedding" in their file name don't necessarily need that tag.

When you use the tagging feature in Picasa those tags are added to the file itself on your machine. That is to say that if you were to open up a tagged image in Windows Explorer and look at its properties, you will see the tags there. This can be very useful, especially when you upload to Picasa (Google+) Web Albums.

You don't need to do this all at once, you can tag temporarily if you want, or as you go along. :)

And thus concludes Part 2! I hope I've clued you in on how easy it is to tag your files in Picasa and I hope you will consider tagging your images in the future (even if you don't use the program!). Tagging is one of those things that "professionals swear by, amateurs hardly every do". :D