Showing posts with label Gift Bag. Show all posts

20 May, 2015

Spring Morning Gift Bag, by Kathy


Hi, it's Kathy today, and this time I've a gift bag to share with you

I've used  "Spring Morning" designs from this month's showcase CD "V. Funky to make this one, and it's nice and easy because I've used an Xcut die


Materials and Tools
"Spring Morning" from the Funky Hand  CD "V. Funky
the designs were all printed onto "Diamond White" Bazzill card, which has a lovely soft sheen to it (but makes photographing difficult!)
Gift Bag die set (Xcut)
Tab closure is hand cut
EK Success border punch
Tag die (Crafters Companion)
the Flower on the tag is made with this paper:
I printed it in 2 sizes and coloured the petals with 2  colours from the Spring Morning collection, then cut the flowers out by hand
Tiny circle punch (Xcut )
Bakers Twine
I hope you like it - my tip for today is to experiment at printing on different kinds of paper and card - you'll find lots of new ways to use your Funky Hand stash!

Don't forget, this CD is on offer in the SHOP for just £1 at the moment so don't miss out! Here's a quick look at just some of the designs you'll get on the CD

We'd love to see what you make with Funky Hand goodies too.....
Thanks for visiting today


01 October, 2014

Have you a Minute or 10?

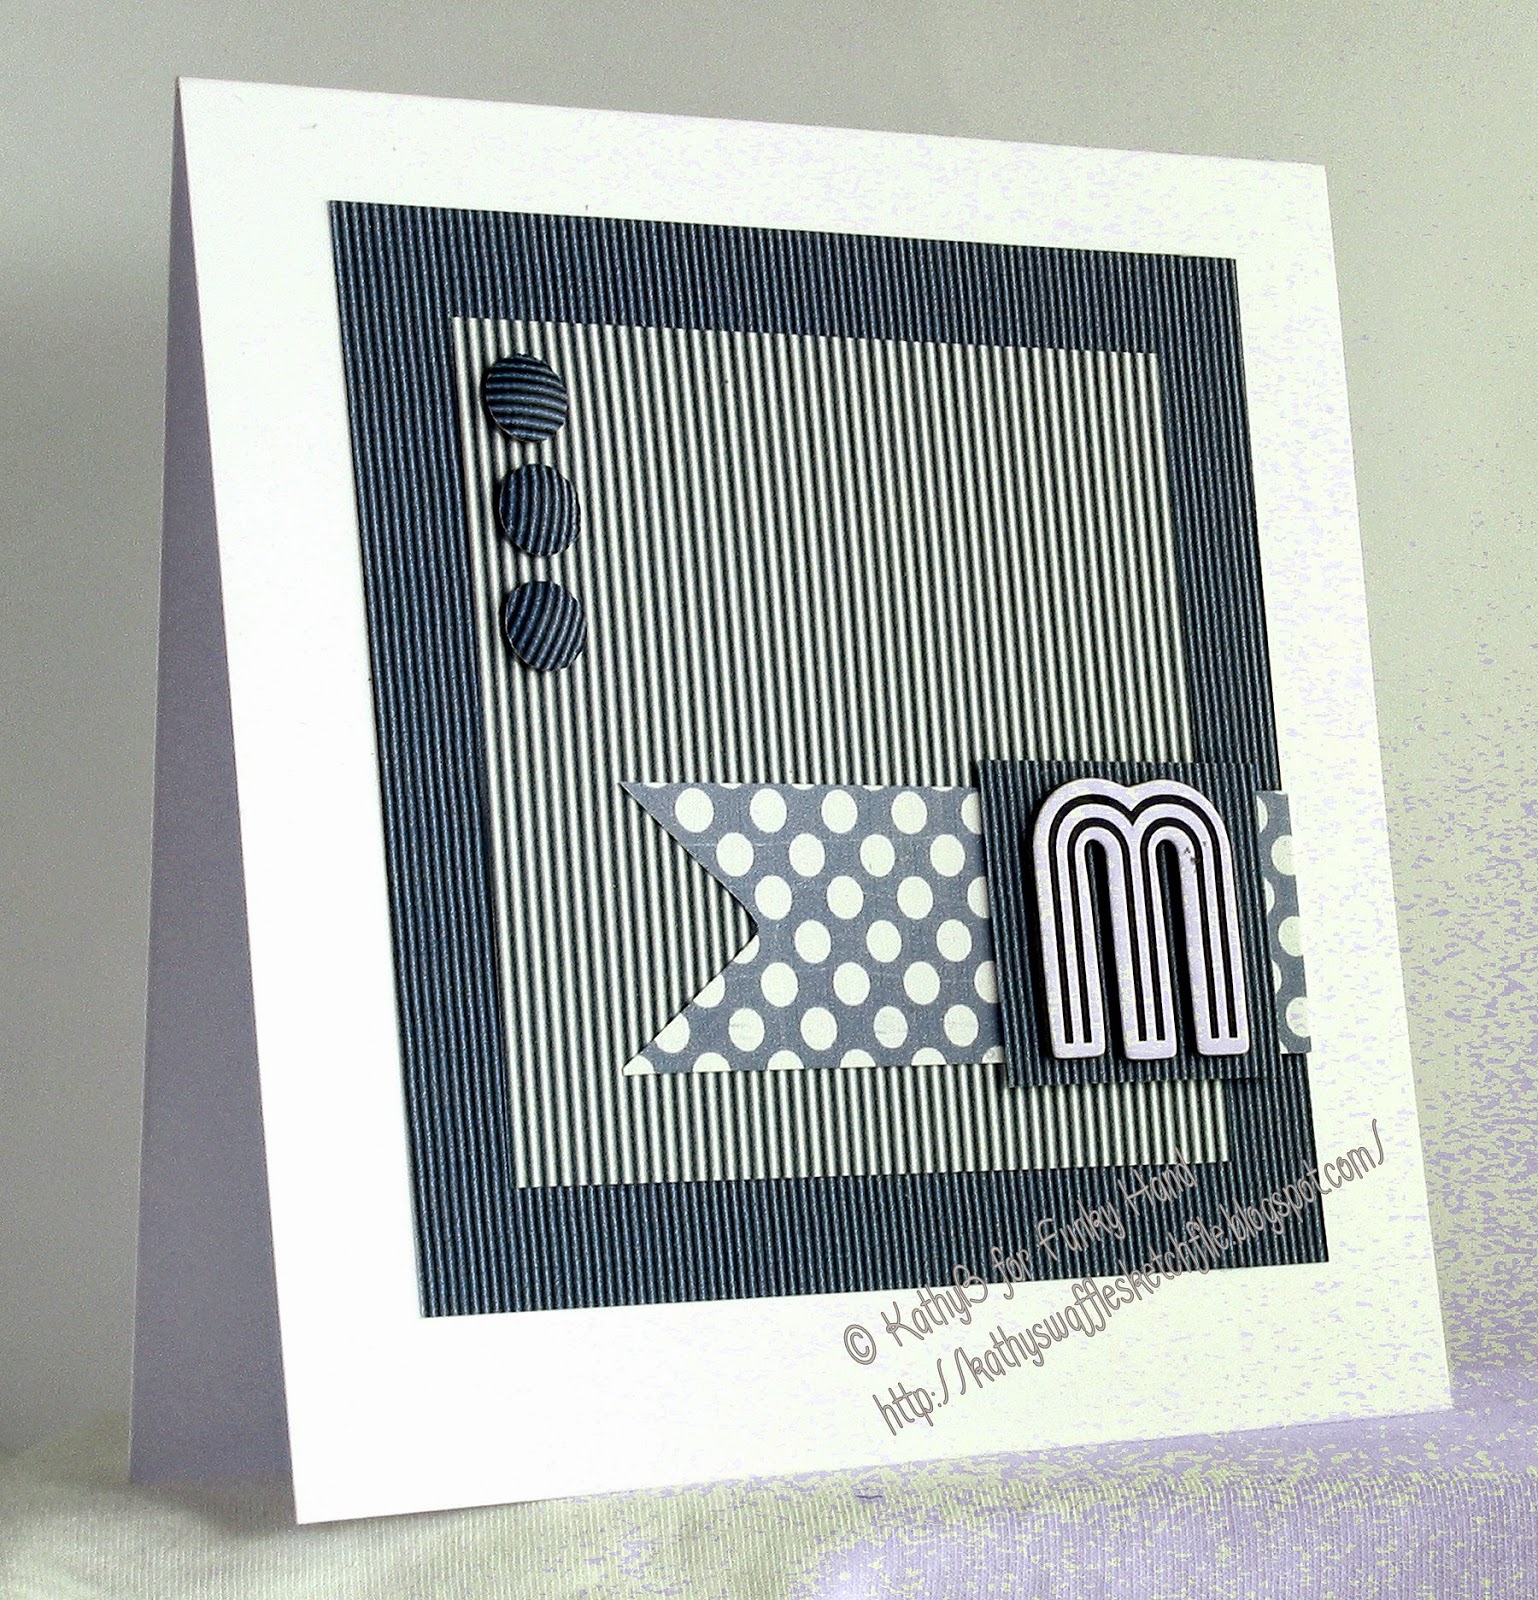
Hi, Kathy here today and I seem to have been in such a rush lately - so much to do so little time.  So I thought I'd have a go at something I have never, ever found easy - 10 minute cards!

Now I'm not counting printing time in that 10 minutes or so, but, as it happened I had a some pieces of these Winter Wedding papers from Funky Hand lying on my desk (I'll show you why, later), so the only printing I needed to do was an extra A5 piece of the dark blue pinstripe  as I didn't have a piece big enough to make the background square
How easy is this card then?  I think these papers work so well for a geometric layout like this.
A big square, a smaller square and a little one to fix the monogram to.
The banner is just a rectangle with the points hand=cut, and the "brads" were made just with a small circle punch and shaped with an embossing ball tool.
The monogram is a chipboard sticker so no work there either.

I still had a few scraps so I thought I'd have another go

The 2 layers for the banner are made the same way as above.
The circle is a Spellbinders Nestie die
As luck would have it I had a spare printed "Happy Birthday" sentiment left over from something else 
(I'd printed 2 at the same time as I wasn't sure which font I liked best for a project)
Okay, so I'll admit deciding to make a little rosette pushed this over the 10 minutes, but not by much.  It's just a strip of paper, scored using my scoring board, folded up quickly and glued onto a punched circle of card. 
 It didn't take long. 
The centre of the rosette is another punched circle (a bit larger than the ones on the first card), shaped with a ball tool again and glued in place
Probably took 15 minutes max to make this one

So, what cards can you make in 10-15 minutes>  If you have a go, don't forget to let us know where we can see your creations

Oh yes, I was going to show what I'd been making with these papers wasn't I?
That's it for this time, thanks for visiting - don't go without leaving a message, we'd all love to hear from you ;)

16 August, 2014

Sleigh Ride in Summer

Hello

It's Kathy here today and I'd like to share something I made this week using a new die and my fabulous Funky Hand stash.

Since becoming the proud owner of an eBosser machine, the world of A4 dies and embossing folders has been opened to me and I recently got my hands on a fab die for making a really neat gift bag. 
 The finished bag is 12cm wide. 18cm high and  7cm deep - so plenty of room for goodies in there!


As this is a big die making a good sized box, you need to cut the die twice and you need 2 sheets of A4 paper - so what better way to give the die a test run than with some Funky Hand designs.

Do you recognise these papers?
I chose to use "Sleigh Ride" which was one of the 2013 Christmas lines.  A little bit "left field" for crafting in the middle of August, I know, but I love these colours and several of the designs are not really Christmassy at all - it's such a shame not to use them for other projects, don't you think?

So I printed two copies of the gorgeous spotty pattern onto some white Bazzill card (any sturdy paper or thin card would do), plus another sheet to make the striped "border", the bow, gift card and flower decoration. As I knew both sides of the tag, bow and flower would be seen I printed on both sides of the card I needed to make these.
Then it was just a case of doing the die cuts and sticking it all together. 
I used one of the bits of waste (from the hole in the handle) to make a closure for the bag.
The bow and the tag come in the die package.
The bow is clever as its just one piece and you fold it up to create the bow.
I cut the tag twice, then tied the two pieces together with some seam binding.  I punched a tiny heart in the corner of the top piece
The flower is made with 5 punched flowers  here's a closer look at the decorative bit:

 Ingredients
"Sleigh Ride"  download from  Funky Hand
Paper or card for printing
Gift Bag with bow and tag; A4 die form Xcut 
SU Blossom punch, Tiny heart punch
Seam Binding or Ribbon

The bag was so quick to make and using Funky Hand papers means bags and boxes look great even before you start decorating them! 
I'm thinking this would look fab in the gorgeous deep blue shades of the Winter Wedding collection for a more masculine gift wrapping.  I have the lovely pin striped papers in mind, but I just need to figure out a more manly decoration that a bow and a flower and then give it a try.
That's it for now - I'm off to print out those Winter Wedding papers and
 have a go - if you pop by my blog sometime soon, you might find that I actually got it done ;) 
Stranger things happen at sea.....as my Grandad used to say.

Thanks for visiting - please leave a message - it lets us know we're not just talking to ourselves!

Happy Funky Crafting